Workspaces
A workspace is where your CRM lives. Custom fields, tickets, comments, files, saved views, templates and analytics all belong to it. Without a workspace the app has no navigation - you’ll see “Workspace required - Create your own workspace, or join an existing one with an invite.”
Creating one
Section titled “Creating one”Create Workspace from the sidebar, settings, or during onboarding.
- Workspace Name, e.g. Acme Corp. You can have several workspaces with the same name.
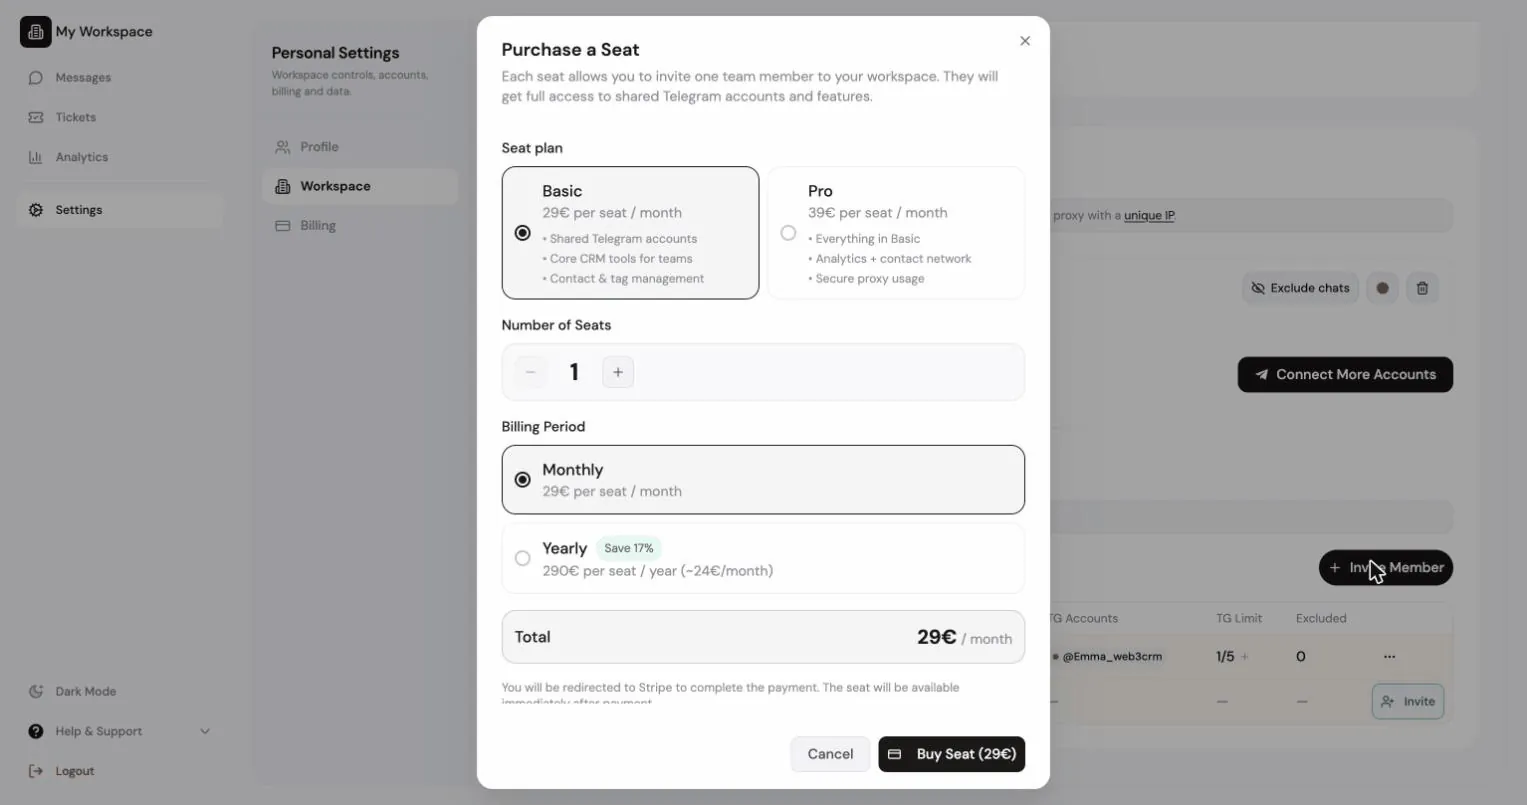
- Invite Your Team (optional), Generate Invite Link. Links expire in 24 hours.
- Done, “Your workspace is ready.”
If you have no seats yet: “Workspace created. Buy seats to invite teammates.”
Joining one
Section titled “Joining one”Three routes:
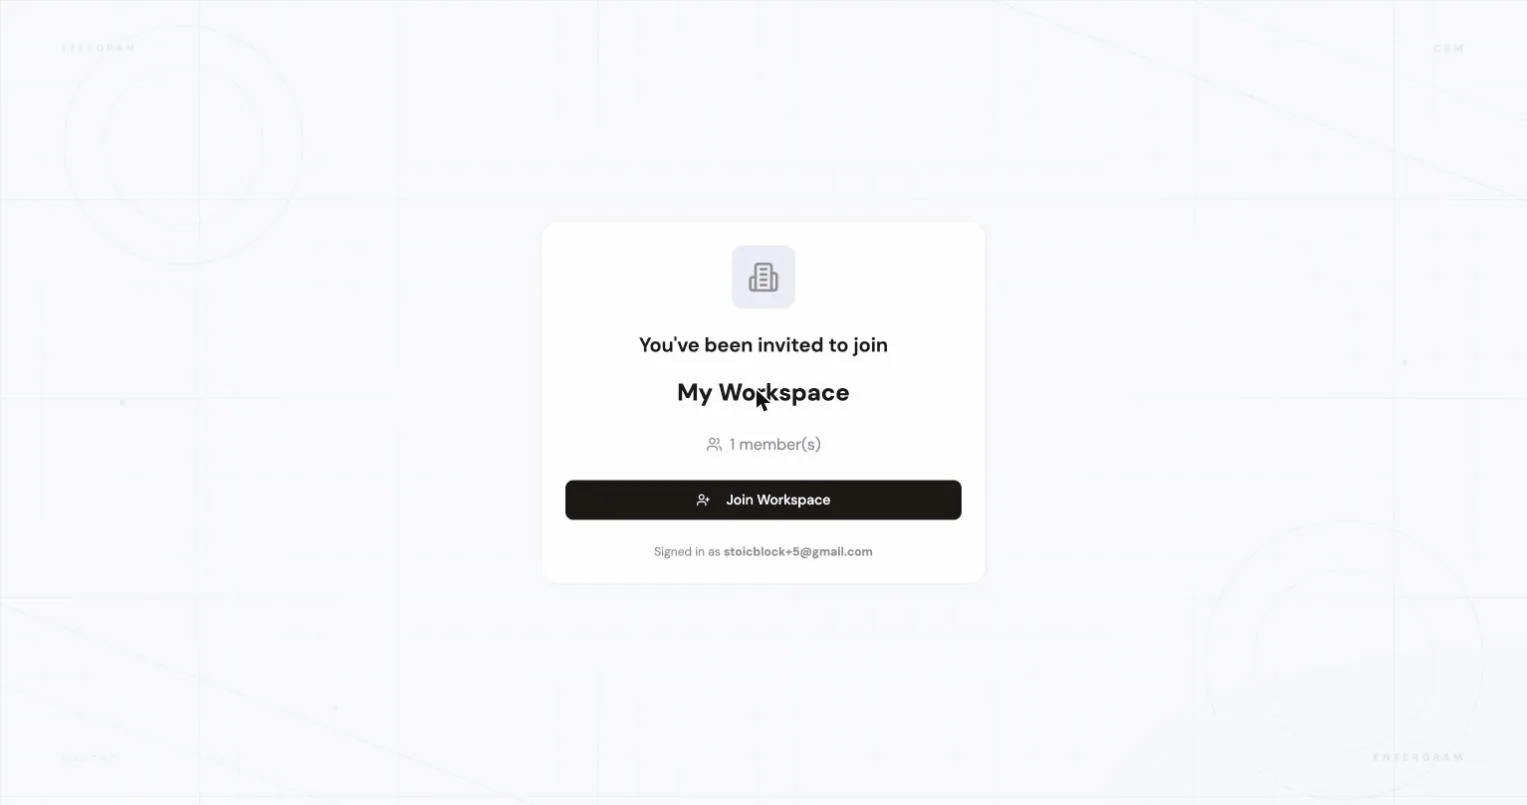
- Click an invite link, it opens the join page directly.
- Paste the link or token into Settings → Have an invite link? → Join Workspace.
- Paste it during onboarding under Join existing.
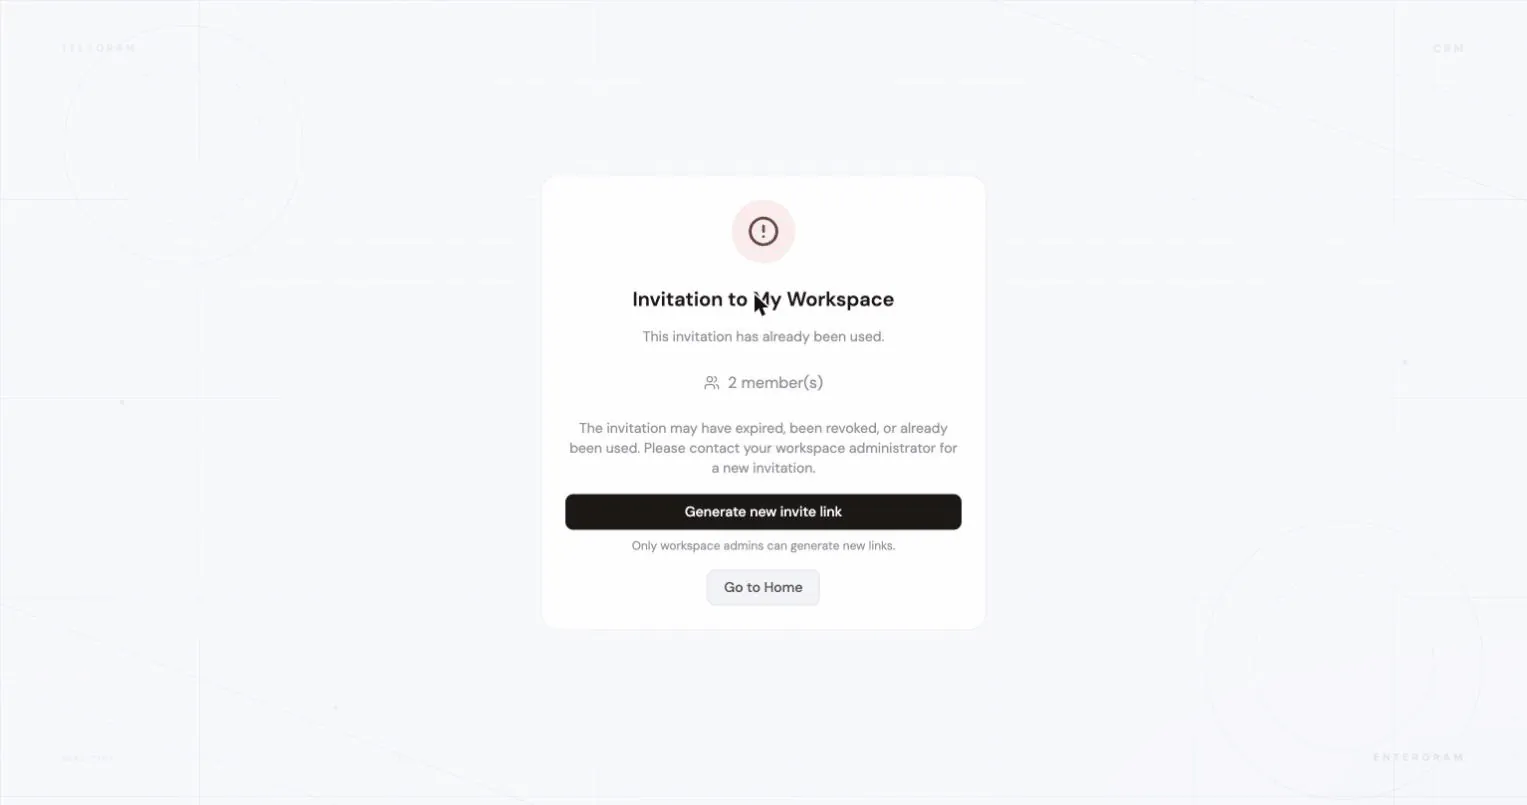
Invalid or expired links are rejected before anything happens.
Workspace settings
Section titled “Workspace settings”Settings → Workspace → Settings (owners and admins):
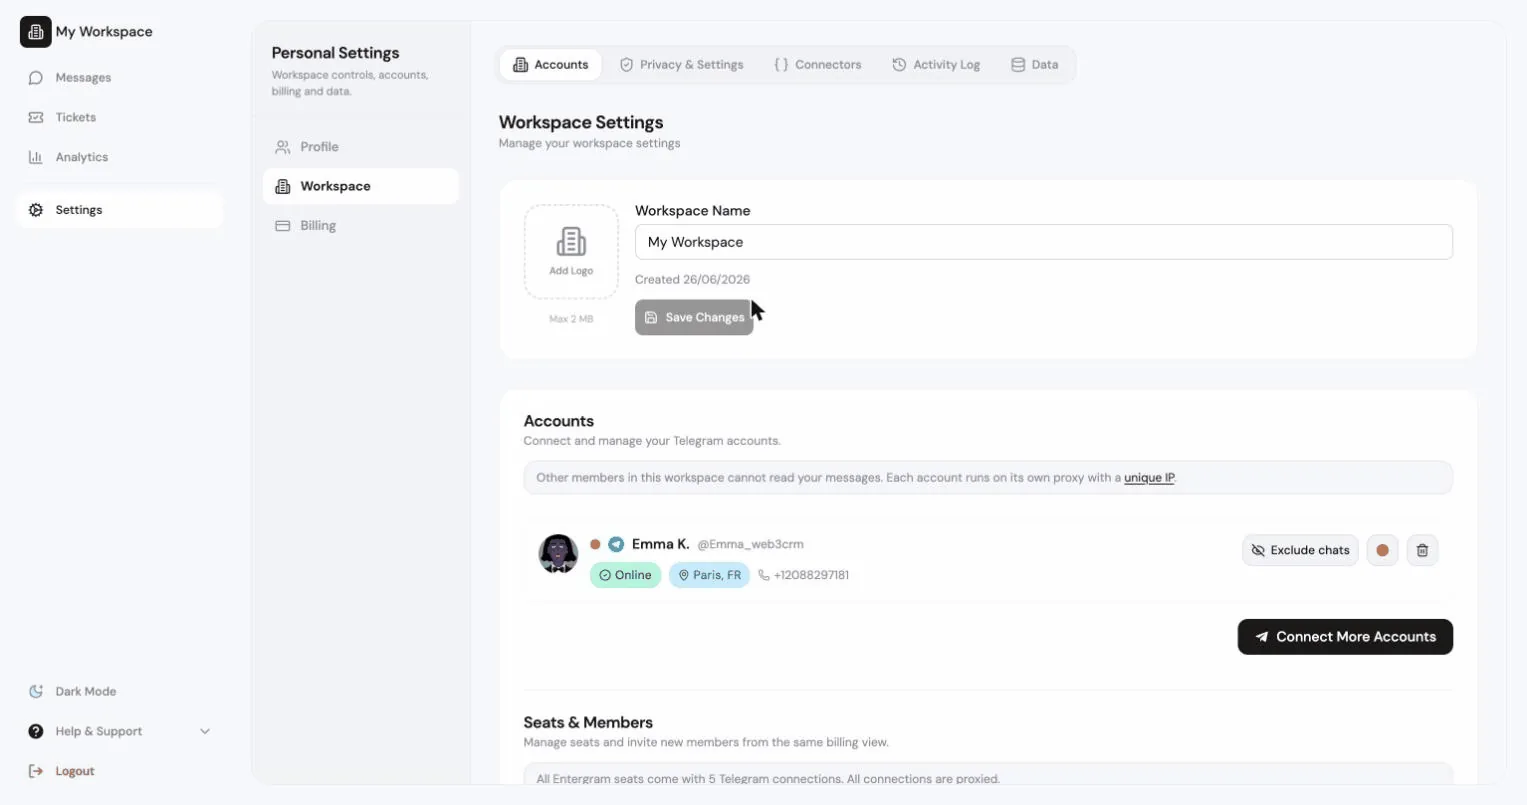
- Workspace Name, edit and Save Changes.
- Logo - Add Logo, upload your own (there’s a max size), or Remove.
- Metadata: Plan, Paid seats, Created
{date}.
The workspace tabs
Section titled “The workspace tabs”| Tab | What’s in it |
|---|---|
| Settings | Name, logo, workspace metadata |
| Privacy & Settings | Every member permission and operational default |
| Members | Seats, members, roles and invitations |
| Billing | Plans, seats, Stripe portal |
| Data | Exports and template storage |
| Developers | MCP and API |
| Activity log | Log history |
Data source: Database vs Live
Section titled “Data source: Database vs Live”The workspace header can switch between two data sources:
- Database, “Database with all contacts from Telegram accounts connected to your workspace”, the stored CRM view.
- Live, the current account-scoped Telegram view. Disabled when there are no connected accounts: “No connected accounts available for live view.”
Leaving a workspace
Section titled “Leaving a workspace”Members request to leave; they can’t just walk out.
- Settings → Workspace → Leave Workspace → Request to Leave.
- Add an optional reason.
- An admin or owner reviews it.
While it’s pending you see “Leave request pending, waiting for admin approval” and can Cancel Request.
If approved you lose access to all workspace data and will need your own plan to keep using the app.
Owners and admins review requests under Leave Requests with Approve and Deny.
Deleting a workspace
Section titled “Deleting a workspace”Settings → Workspace → Settings → Danger Zone → Delete Workspace (owner only). You must type the workspace name to confirm.
What is permanently removed: tickets, activity log, workspace custom field values, comments, files, connectors, API keys, shared views and workspace templates.
What is not: your connected accounts. They stay on your profile and are simply detached from the workspace. You can create a new workspace later and reuse your seats.
Billing is separate. Deleting a workspace does not cancel subscriptions, manage those in the Billing tab via the Stripe portal.
While deletion runs
Section titled “While deletion runs”Cleanup happens in the background:
{name}is being deleted in the background. Access to this workspace is paused until cleanup finishes.
If it fails you’ll see “Workspace deletion needs attention”, delete again to requeue the cleanup.
Related
Section titled “Related”Cookie preferences
We respect your right to privacy. Choose which cookies to allow, your choice applies across our site. Cookie Policy
Required for the site to work, including remembering your privacy choices. Always on.
Help us understand site use and attribute sign-ups to referral partners. Optional.